Ocean or Myth?
That was my choice.
I decided to go with Ocean as it would be easier to design something event related and plus, I love the water.
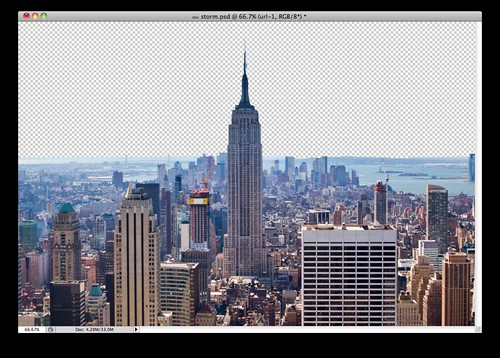
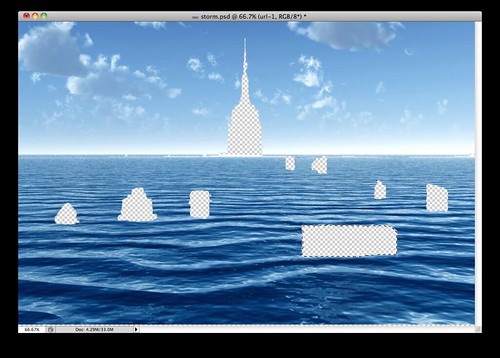
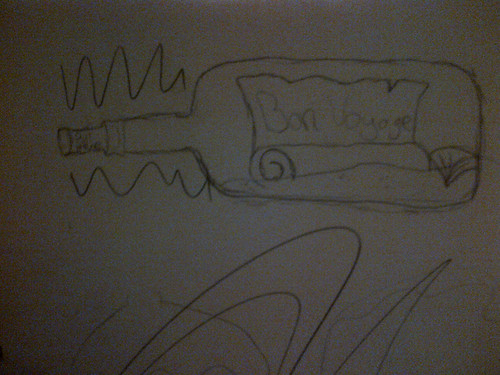
I then had to figure out what media I was working with. I want to go into event planning but how could I demonstrate my graphic design skills to boost the little skills I know in event management? I started drawing cake designs and centre pieces and party favours (pic 1) but it's one thing to design them and another to make them come to life, which I really didn't have the time or money to do. So the next option was print media, design invitations, name cards and other print related things need for parties. So I sketched this really neat invitation (pic 2) for a Bon Voyage Party and I was going to make it a pull out card so when you pulled the cork out of the bottle the scroll in the bottle would have all the info of the party. I started to design it but I was limited with the resources I had. I gave up.
 Thumbnails 1
 Thumbnails 2
I was really frustrated. I started googling random things that had to do with the ocean, I then came across tutorials for photoshop. This got me thinking, I love photoshop so why not use this as a chance to further my knowledge in photoshop and learn some new things. So I set off and found a really interesting tutorial that I could modify to include ocean. Link is
here.
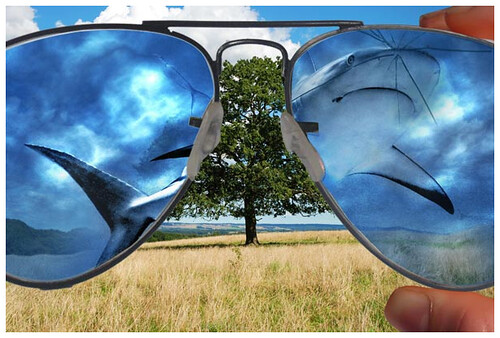 Original Tutorial Image
I used an image I found on google of someone holding scuba goggles.
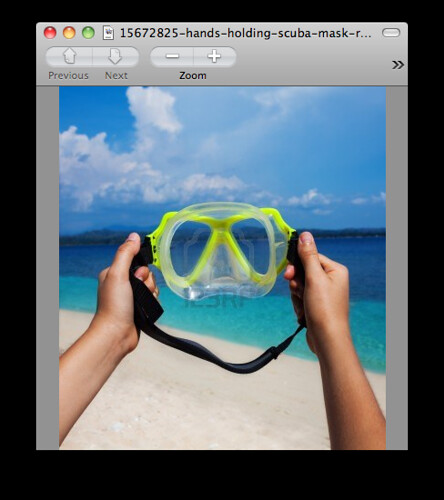 Original Goggle Image
I then removed the water mark using the clone brush tool and using a mask I hid the background.
 Image without the Background
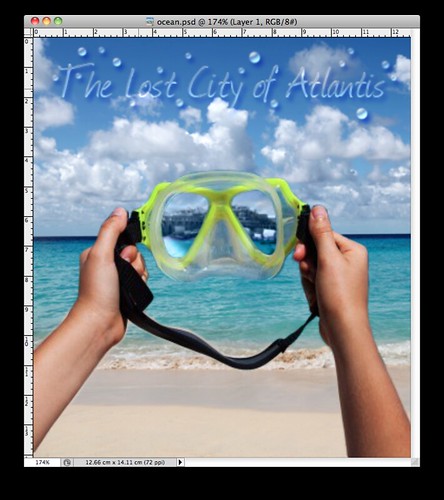
I then found another goggle image of a beach and placed it behind the goggles. I then placed a smaller image of the "Lost City of Atlantis" in the goggles, matching it up with the horizon line of the ocean. I guess in a way my image includes myth as well.
 Lost City of Atlantis in goggles
I then found a tutorial for water text (
link) and used that for the title "The Lost City of Atlantis".
 The Lost City of Atlantis text in progress

The Lost City of Atlantis text completed.
This is my finished photoshop file.